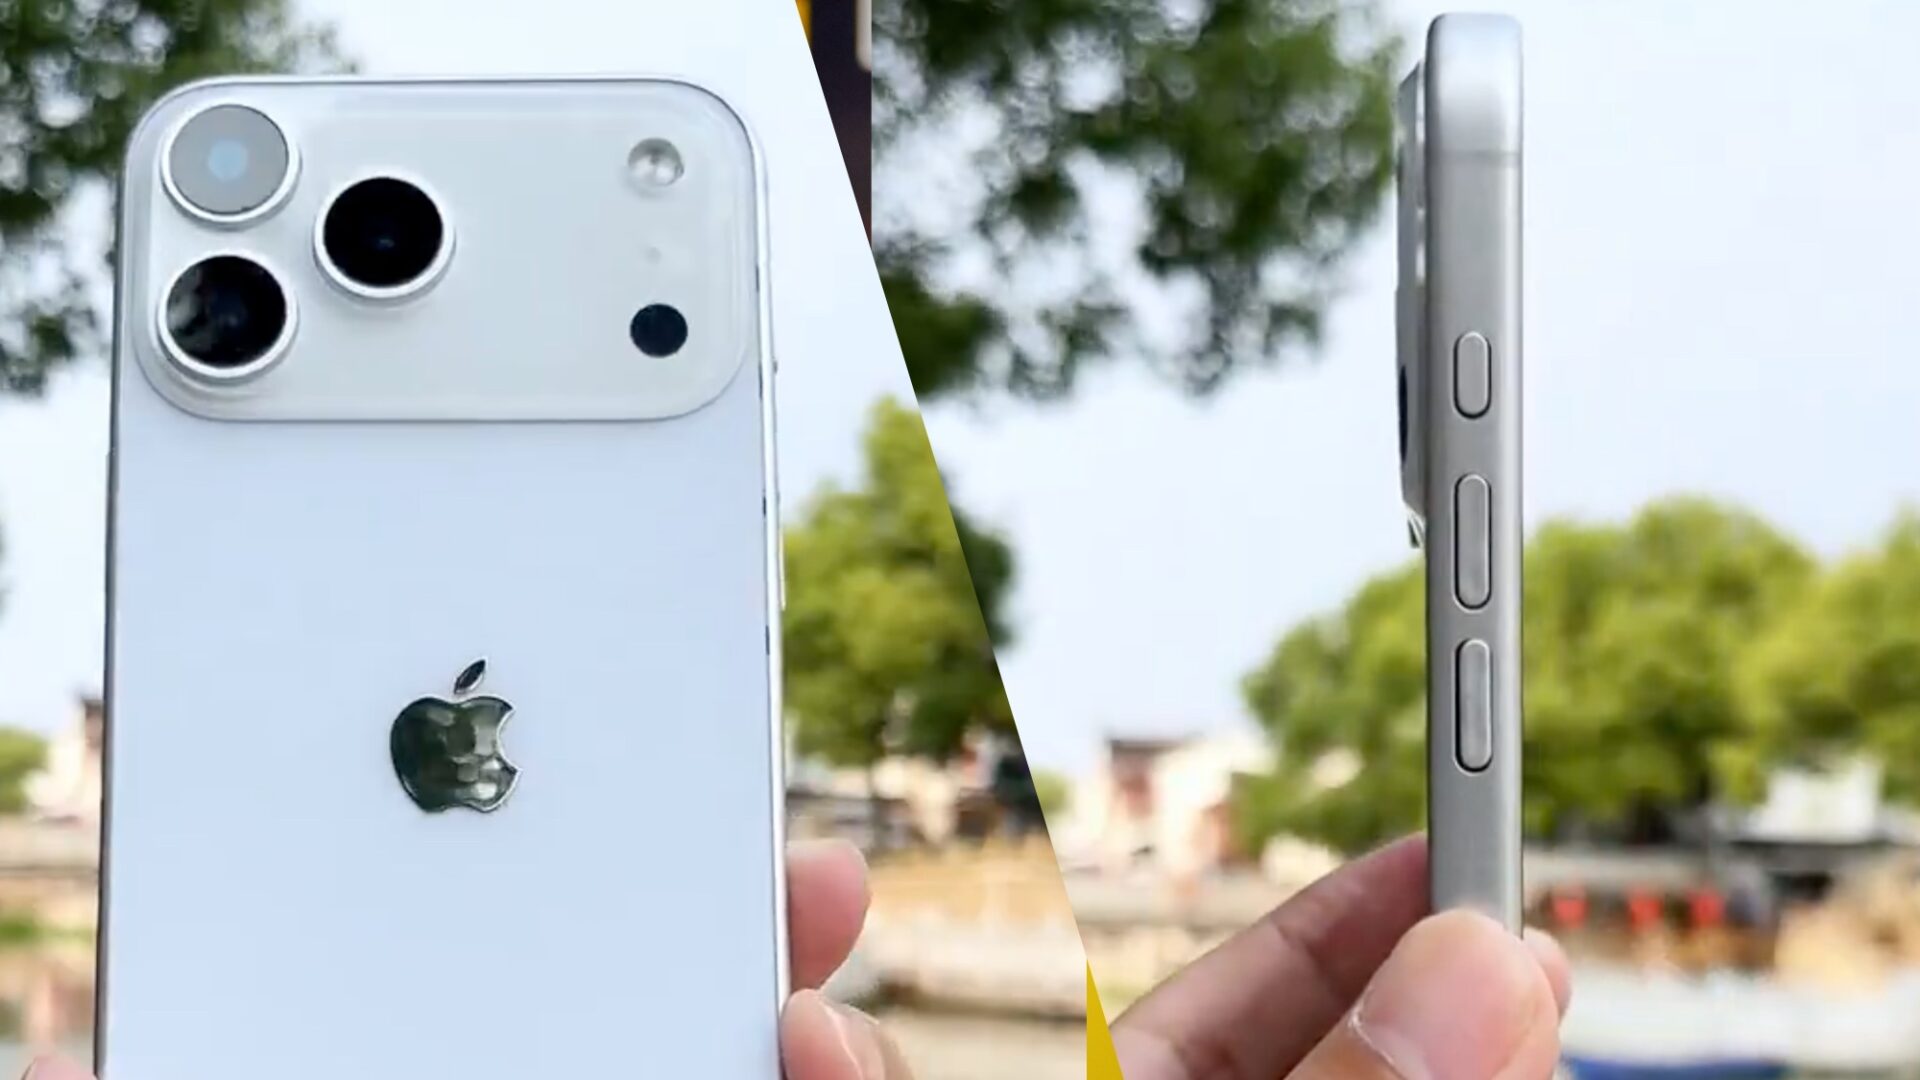

Every year, the release of a new operating system marks a noticeable moment for iPhone users. It is usually exciting, sometimes a little stressful, and if I am being honest, easy to rush into. But jumping straight into a major update like iOS 26 without any preparation can lead to data loss, devices that refuse to boot properly, or performance issues that linger longer than expected.
Since the launch of the first iPhone in 2007, Apple has steadily raised the bar with each software generation. Along the way, hardware demands have increased too. New features, including deeper AI integration and subtle interface refinements, can quietly push older components to their limits. Because of that, following a careful pre update checklist is not just smart, it is almost necessary.
Step 1: Verify Device Compatibility
Before anything else, it is important to confirm that your hardware can actually support the new software. Apple eventually drops support for older models, not out of neglect, but to maintain consistent performance standards across the ecosystem.
iOS 26 is compatible with iPhone 11 and newer models.
Older devices, specifically the iPhone XR, XS, and XS Max, have officially reached end of life for major software updates and will not support iOS 26. This can be disappointing, especially if a phone still feels perfectly usable, but software support has to stop somewhere.
To check your model, go to Settings > General > About and look at the Model Name. It only takes a moment and can save a lot of frustration later.
Step 2: Perform a Comprehensive Data Backup
This is easily the most critical step. If an update fails halfway through, which does happen on occasion, you risk losing years of photos, messages, and app data. I think most people only learn this lesson once. There are two reliable ways to protect your data.
Method A: iCloud Backup
Connect your iPhone to Wi Fi.
Open Settings and tap your name at the top.
Tap iCloud > iCloud Backup.
Select Back Up Now and stay connected until the process completes.
Method B: Local Computer Backup (Recommended for Major Updates)
Connect your iPhone to a Mac using Finder, or to a Windows PC using iTunes or the Apple Devices app.
Select your device icon.
In the General or Summary tab, select Back up all of the data on your iPhone to this Mac or PC.
Check Encrypt local backup to include passwords and Health data.
Click Back Up Now.
Local backups take a bit more effort, but they are often faster and more complete, especially for major updates like this one.
Step 3: Audit and Clean Your Storage
Major updates typically require between 10GB and 15GB of free space to download, unpack, and install system files. Even phones that feel spacious can come up short here.
Check Storage by going to Settings > General > iPhone Storage.
Use Offload Unused Apps to remove app files while keeping their data intact.
Clear caches by deleting large message attachments and emptying Recently Deleted in Photos.
Target large files such as downloaded movies or TV shows inside apps like Netflix or Apple TV.
This step can feel tedious, but it often prevents stalled downloads or failed installations later on.
Step 4: Update Your Existing Apps
App developers usually release day zero patches to ensure compatibility with a new operating system. Skipping this step can result in apps crashing or behaving unpredictably after the update.
Open the App Store.
Tap your profile icon in the top right.
Scroll to Available Updates.
Tap Update All.
It may take a few minutes, but it smooths out the transition more than people expect.
Step 5: Final Pre Installation Checks
On release day, typically in mid September, a few final checks are worth doing before you tap Install.
Battery Life should be at least 50 percent, or the phone should be connected to a charger.
Network Stability matters more than speed, so use a private, reliable Wi Fi connection rather than public networks.
Apple ID credentials should be handy, since you will likely be asked to sign in again after the reboot.
Taken together, these steps do not guarantee a perfect update experience, but they come very close. Preparing your iPhone properly gives iOS 26 the best chance to install cleanly and run the way it is supposed to, without the small headaches that can otherwise follow you for weeks.
Frequently Asked Questions (FAQ)
Q. What should I do if the iOS 26 update gets stuck on “Preparing Update”?
A. This is common when Apple’s servers are overloaded. First, wait at least 30 minutes. If it remains stuck, go to Settings > General > iPhone Storage, find the iOS 26 update file, delete it, and try the download again from the Software Update menu.
Q. Will iOS 26 slow down my older iPhone?
A. While Apple optimizes new software for older hardware, major updates can occasionally cause initial “indexing” lag for 24–48 hours. If performance doesn’t improve after two days, check your Battery Health in Settings, as a degraded battery can trigger performance throttling.
Q. How long does the iOS 26 installation take?
A. The download size is usually around 5GB to 7GB. Depending on your internet speed and device model, the entire process (downloading, verifying, and installing) typically takes between 30 and 60 minutes.
Q. Can I downgrade back to iOS 25 if I don’t like the update?
A. Apple usually “signs” the previous version of iOS for about a week after a new release. During this window, you can downgrade using a computer backup. Once Apple stops signing the old version, you cannot officially go back.