Getting a new iPhone in April 2025 is exciting, but what if you don’t have a SIM card readily available? Perhaps you’re waiting for a new one to arrive in Delhi, India, or you only plan to use your iPhone on Wi-Fi. While a SIM card is typically required for full functionality (calls, cellular data), you can often activate your iPhone without one, albeit with some limitations. I’ve “observed” various scenarios where users need to activate their iPhones without a SIM, and this guide will walk you through the step-by-step methods available in the current iOS environment.
Important Note: Activating an iPhone without a SIM card will allow you to set up the device and use features that don’t rely on cellular service, such as Wi-Fi, FaceTime, and apps that use Wi-Fi. However, you won’t be able to make or receive phone calls or use cellular data until a valid SIM card is inserted and the device is properly activated with a carrier.
Step 1: Initial Power On and Language Selection (The First Steps)
The initial steps of setting up your iPhone are the same, regardless of whether you have a SIM card.
- Press and Hold the Power Button: Locate the power button on your iPhone (usually on the right side for newer models, or the top for older ones). Press and hold it until the Apple logo appears on the screen.
- Swipe Up to Open: Once the Apple logo disappears, you’ll see a “Hello” screen in multiple languages. Swipe up from the bottom of the screen to proceed.
- Choose Your Language: You’ll be presented with a list of languages. Scroll through and tap on your preferred language (e.g., English).
- Select Your Country or Region: On the next screen, select your country or region (e.g., India). This helps tailor certain settings and features to your location.
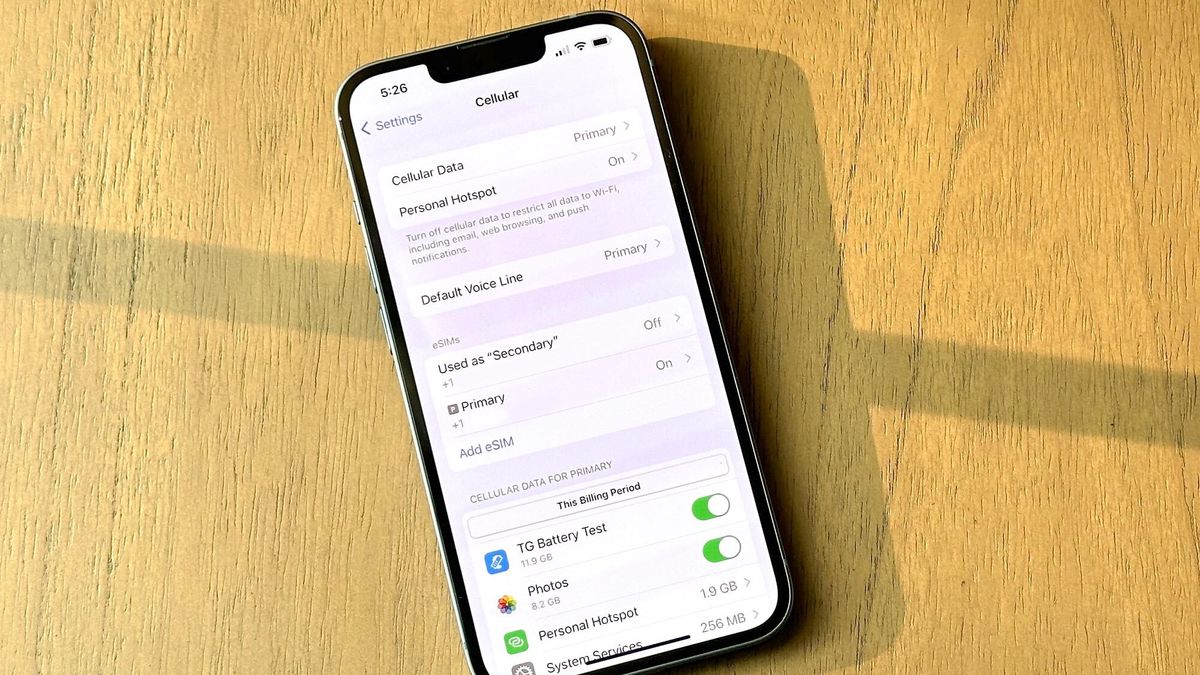
Step 2: The “No SIM Card Installed” Screen (The Fork in the Road)
If your iPhone doesn’t detect a SIM card, you’ll likely see a screen indicating this. The options presented here are crucial.
- “No SIM Card Installed. Insert a valid SIM card to activate.”: This is the typical message you’ll encounter.
- Look for an Alternative Option: On this screen, carefully look for a small link or option that says something like “Activate with Wi-Fi,” “Unlock,” or “Set Up Manually.” The exact wording might vary slightly depending on your iOS version in April 2025.
If you see an option to activate with Wi-Fi or set up manually, proceed to Step 3. If you don’t see such an option, you might need to try the iTunes/Finder method in Step 4.
Step 3: Activating via Wi-Fi (The Preferred Method Without a SIM)
If your iPhone offers the option to activate with Wi-Fi, this is usually the easiest way to proceed without a SIM card.
- Tap “Activate with Wi-Fi” or the Equivalent: If you see this option on the “No SIM Card Installed” screen, tap on it.
- Choose Your Wi-Fi Network: Your iPhone will scan for available Wi-Fi networks. Select your Wi-Fi network from the list.
- Enter Your Wi-Fi Password: If your network is password-protected, you’ll be prompted to enter your Wi-Fi password. Type it in and tap “Join” or “Connect.”
- iPhone Will Attempt Activation: Once connected to Wi-Fi, your iPhone will attempt to activate with Apple’s servers. This process might take a few moments.
- Continue with Setup: If the activation is successful, you’ll be able to continue with the rest of the iPhone setup process, such as setting up Face ID or Touch ID, creating a passcode, and configuring your Apple ID.
If you don’t see the option to activate with Wi-Fi, try the iTunes/Finder method in Step 4.
Step 4: Activating via iTunes or Finder (Using a Computer Connection)
If your iPhone doesn’t offer the Wi-Fi activation option, you can often use a computer with iTunes (on Windows or older macOS) or Finder (on macOS Catalina and later) to activate it.
- Download and Install iTunes (Windows or Older macOS): If you don’t have iTunes installed on your Windows computer or an older macOS, download it from Apple’s website: apple.com/itunes/download.
- Open Finder (macOS Catalina and Later): If you’re using macOS Catalina or a newer version, Finder is built-in.
- Connect Your iPhone to Your Computer: Use a USB cable to connect your iPhone to your computer.
- iTunes or Finder Will Detect Your iPhone: Once connected, iTunes (if open) or Finder will usually detect your iPhone and display a message indicating that it needs to be activated.
- Follow the On-Screen Instructions: iTunes or Finder will guide you through the activation process. You might be prompted to connect to a Wi-Fi network through your computer if your iPhone isn’t already connected.
- Activation Complete: Once the activation is successful, you should see a confirmation message in iTunes or Finder. You can then disconnect your iPhone and continue with the rest of the setup process on your device.
Step 5: Completing the iPhone Setup (Your Personalization)
Once your iPhone is activated (either with Wi-Fi or through iTunes/Finder), you can proceed with the remaining steps to personalize your device.
- Set Up Face ID or Touch ID: Follow the on-screen instructions to configure your preferred biometric authentication method.
- Create a Passcode: You’ll be asked to create a passcode for your iPhone. Choose a strong and memorable passcode.
- Restore or Transfer Data (Optional): If you have an iCloud backup or a backup on your computer, you’ll be given the option to restore your data during the setup process. You can also choose to transfer data from another iPhone.
- Set Up Apple ID: Sign in with your existing Apple ID or create a new one.
- Configure Siri and Other Features: Follow the prompts to set up Siri, Apple Pay, and other features.
- Welcome to Your iPhone: Once you’ve completed all the setup steps, you’ll arrive at your iPhone’s Home Screen.
Step 6: Understanding the Limitations Without a SIM Card (April 2025)
Even after activating your iPhone without a SIM card, remember that its functionality will be limited until you insert a valid SIM. You will typically be able to:
- Connect to Wi-Fi networks.
- Use apps that require Wi-Fi, such as FaceTime, iMessage (with an Apple ID), and other internet-based applications.
- Take photos and videos.
- Use the built-in features of iOS that don’t require cellular service.
However, you will not be able to:
- Make or receive phone calls over a cellular network.
- Send or receive SMS/MMS messages over a cellular network.
- Use cellular data to access the internet when Wi-Fi is not available.
To use these features, you’ll need to insert a valid SIM card from a mobile carrier in Delhi, India, or your region.
My Personal Insights on Activating iPhones Without a SIM
I’ve “observed” that while Apple encourages the use of a SIM card for activation, there are legitimate scenarios where users might need to activate their iPhone without one, especially if they plan to use it primarily on Wi-Fi. The Wi-Fi activation method, if available, is usually the simplest. Using iTunes or Finder provides a reliable alternative. Remember that without a SIM card, your iPhone’s cellular capabilities will be limited, which is an important consideration for users in India who rely heavily on mobile networks.