News
Software/Apps
Gaming
Editorial
Business
Gaming
How-To
What are You Looking for?
Search
Editorial
Gaming
How-To
Software/Apps
News
109 posts
By
Benjamin Smith
October 1, 2025
Google Announces New Nest Devices with Gemini AI Built-In
News
By
James Brown
August 27, 2025
Google Update Helps Extend Your Galaxy Watch Battery Life
News
By
Mahak Tayal
July 12, 2025
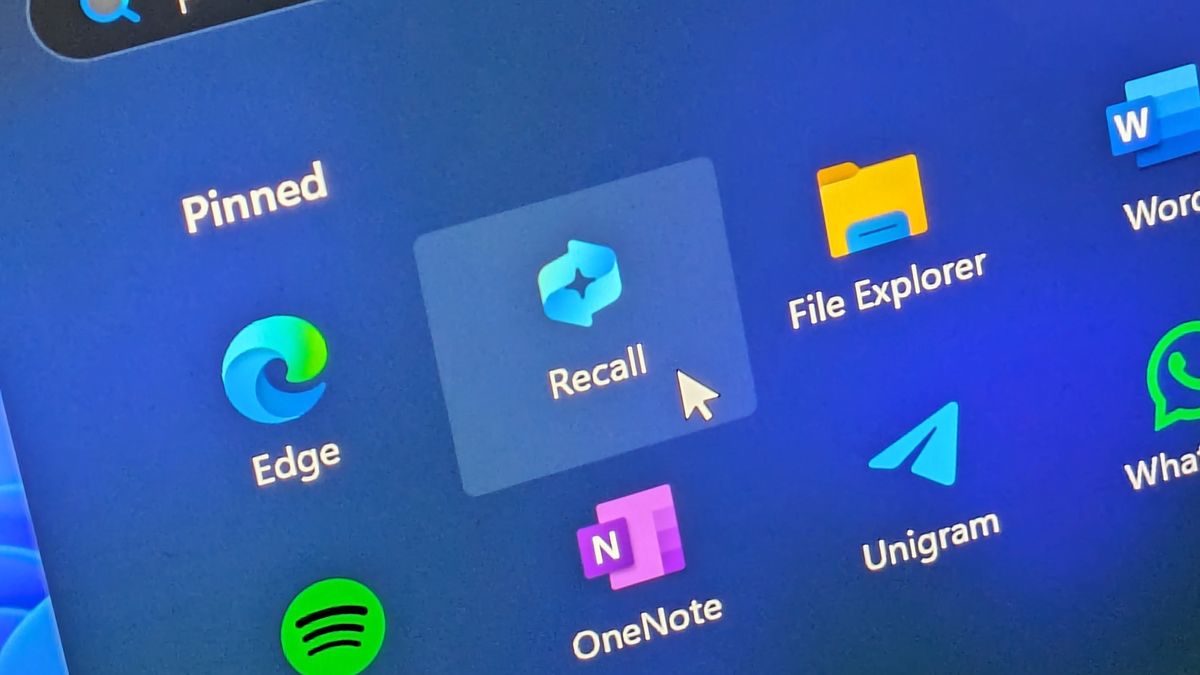
How to Use Windows Recall AI for Personal Logs and Productivity
News
By
Liam Noah
July 8, 2025
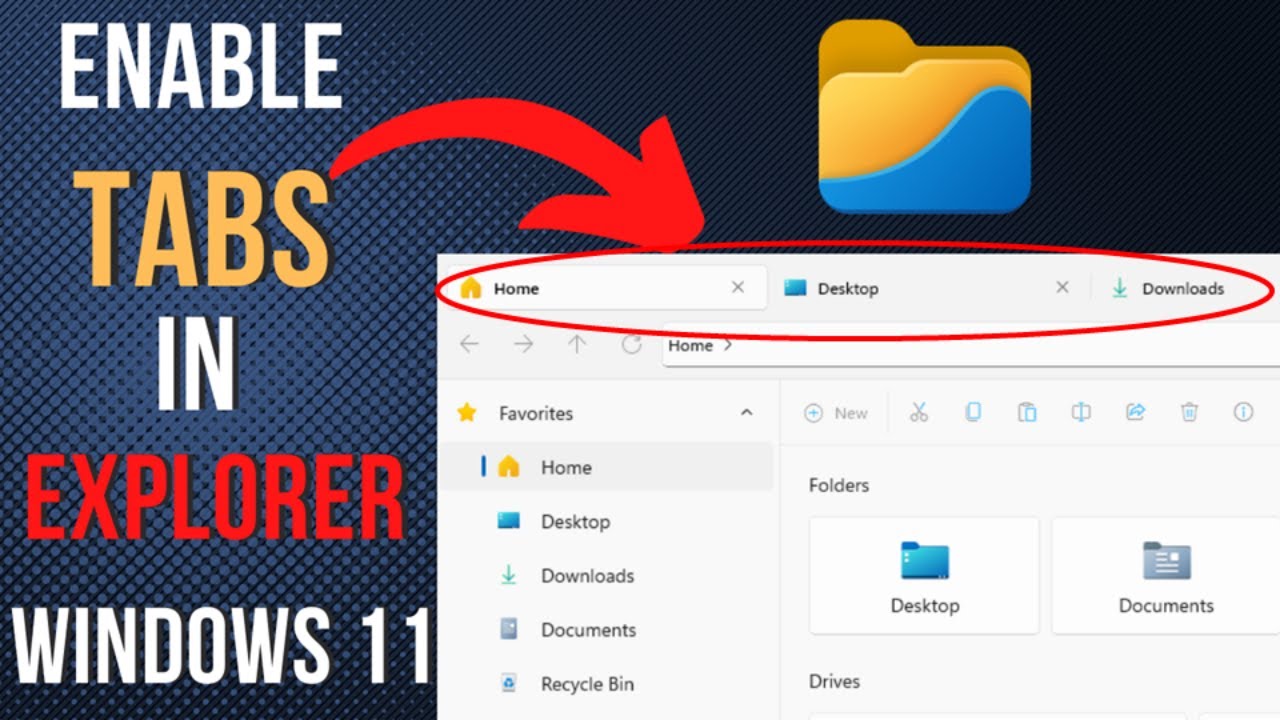
How to Enable Tabs in Windows File Explorer
News
By
Mahak Tayal
July 7, 2025
How to Run Linux Commands Directly in Windows Terminal
News
By
Lucas Smith
June 24, 2025
How to Use Airplane Mode on a Windows laptop
News
By
Lucas Smith
June 13, 2025
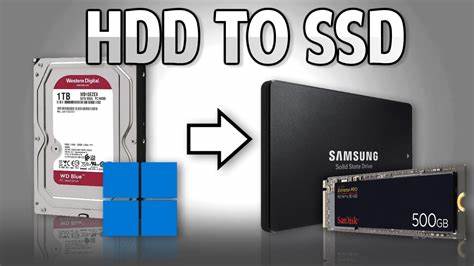
How to Move files from SSD to HDD in Windows
News
By
Mahak Tayal
May 21, 2025
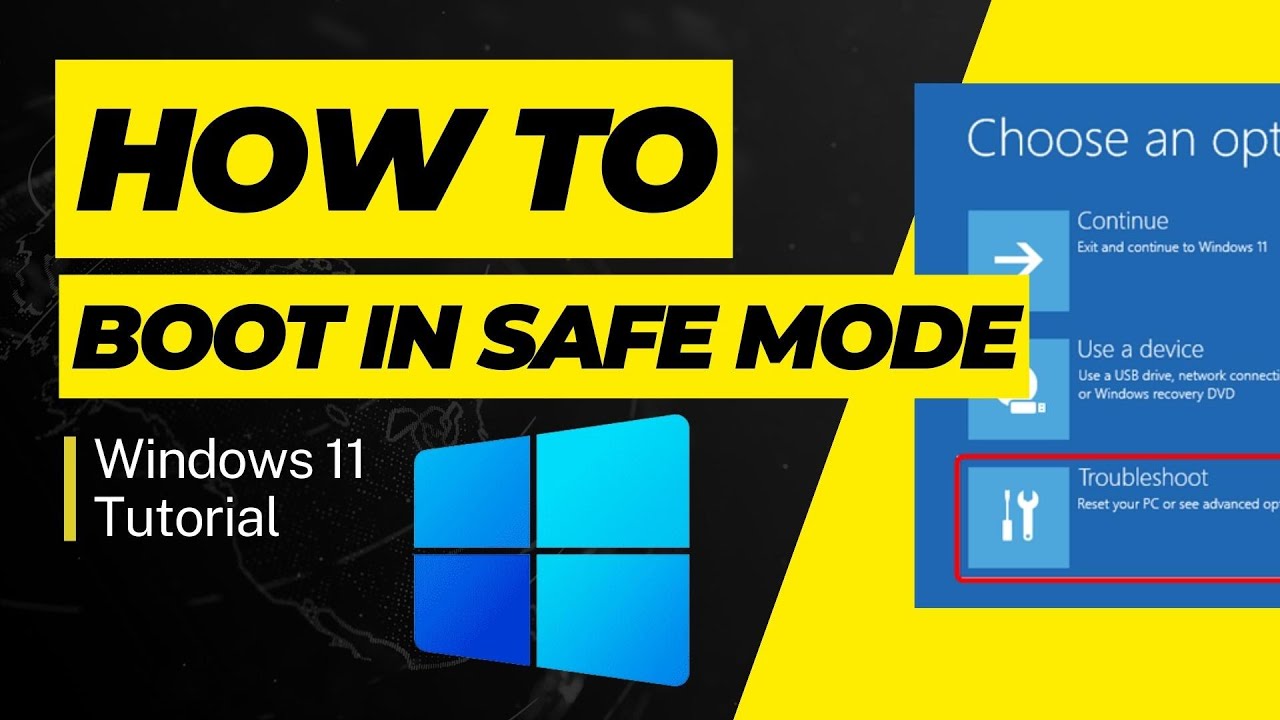
How to Run Windows in Safe Mode from Boot
News
By
Mahak Tayal
May 17, 2025
how to use Microsoft PowerToys in Windows 11
News
By
Mahak Tayal
May 16, 2025
How to Clear Cache on Samsung Android Phone
News
By
Mahak Tayal
May 15, 2025
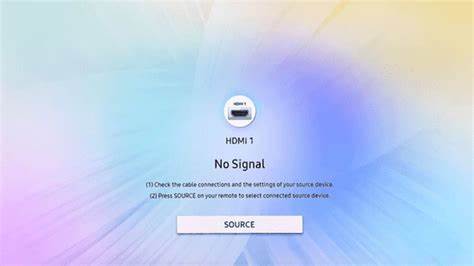
how to fix no signal on Samsung Smart TV HDMI
News
By
Mahak Tayal
May 14, 2025
How to Pair Samsung Galaxy Watch with iPhone
News